How to Clean Skateboard Bearings
Cleaning Skateboard Bearings
Skate bearings are made up of a few different components, including an outer and inner race, a cage, and the ball bearings themselves. Over time, dirt, dust, and other debris can build up inside the bearings, causing them to slow down or seize up altogether. This can make your skateboard roll sluggish and become unenjoyable.
To keep your bearings clean and fast, it's important to perform regular maintenance. This involves removing the bearings from your skates and cleaning them thoroughly. The exact process will depend on the type of bearings you have, but generally involves the following 5 steps-
- Gather Your Materials
- Remove Wheels
- Remove Bearings & Shields
- Soak Bearings in Cleaner
- Dry and Re-Lubricate
- Replace Shields and Mount Bearings
If you notice that your bearings are starting to slow down and want to try a quick fix, you can try adding a few drops of lubricant to the outside of each bearing and giving them a spin. This can help to redistribute the lubricant and free up any stuck or slow-moving ball bearings. However, if this doesn't help, it may be time for a deeper cleaning. By taking care of your skate bearings and performing regular maintenance, you can ensure that they stay clean and fast for longer. This will not only improve your skating experience but also help to extend the lifespan of your bearings, saving you money in the long run.
Click play on the video above and scroll down to find out to keep your bearings spinning fast.
Step 1: Gather Your Materials

Cleaning your skateboard bearings at home requires a few tools and materials. Here's what you'll need-
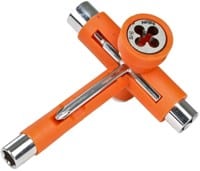
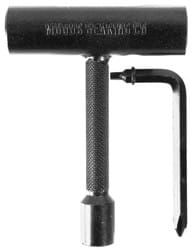
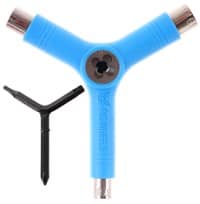
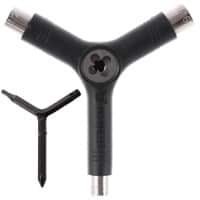
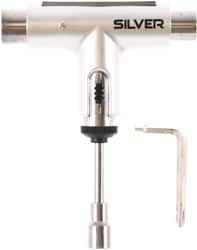
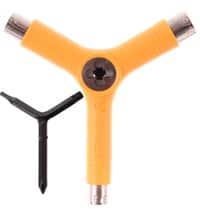
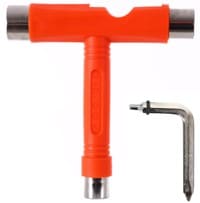
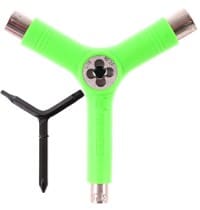
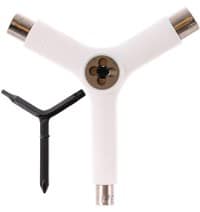
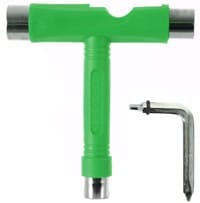
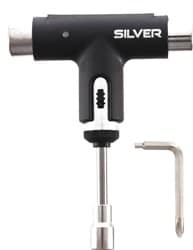
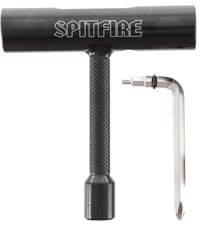
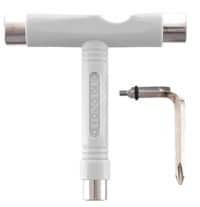
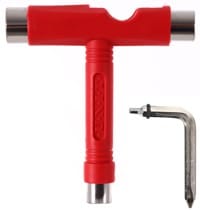
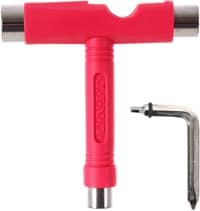
Skate tool: You'll need a skate tool or wrench to remove the wheels from your skateboard. This is essential for accessing the bearings.
Tray: To avoid losing any small hardware, like nuts and washers, you should use a tray or container to store them in while you work on your bearings.
Razorblade: You'll need a razorblade or safety pin to remove the shields from your bearings. These shields protect the ball bearings from dirt and debris but can also trap dirt inside. Removing the shields allows you to clean the inside of the bearings.
Toothbrush: You'll need a rag or toothbrush to clean the bearings. The rag or toothbrush can be used to wipe away any dirt or grime that has built up on the bearings.
Solvent: You'll need a solvent to help dissolve any built-up dirt or debris inside the bearings. Common solvents include isopropyl alcohol or acetone, but you can also purchase bearing-specific cleaners.
Container or bowl: You'll need a container or bowl to soak the bearings in the solvent. It's important to use a container that won't be damaged by the solvent, such as glass or plastic.
Bearing lubricant: You'll need a bearing lubricant to re-oil the bearings after cleaning. This will ensure that the bearings spin smoothly and reduce the risk of rusting.
2. Remove Wheels

Begin by removing the axle nuts with your skate tool or wrench and sliding the wheels off of your truck axle. Make sure to keep track of the washers between the axle nuts and the inside of the axle and the bearings. We find it best to organize and store the axle nuts and speed washers in a small tray so you don't lose any small pieces of hardware.
3. Remove Bearings and Bearing Shields

The next step in cleaning your skateboard bearings involves removing the bearings from the wheels and taking off their shields. To do this, you can use the axle of your truck to pry the bearings out of the wheels. Start by sliding the wheel halfway onto the end of the axle so that only one bearing is on the axle. Then, twist the wheel outward and around while prying the bearing out. Flip the wheel over and repeat the process for the other bearing.
Once the bearings are out, you'll need to remove the shields. You can do this with a sharp and pointy object like a razor blade, thumbtack, or safety pin. Be careful not to bend or damage the shield, as it could rub against the ball bearings when you reassemble everything. It's important to keep track of the shields in your hardware tray as well.
4. Soak Bearings in Cleaner

Once you have removed the bearings and bearing shields from your wheels, it's time to give them a deep clean. To do so, you'll need a cleaner or solvent that is not water-based. Acetone, isopropyl alcohol, and mineral spirits are all good options for this task. However, it's important to wear gloves and avoid contact with your skin when using these solvents.
To begin, you will need a dish or wide-mouthed bottle to act as a container for soaking the bearings. Place the bearings in the container and add enough cleaner to fully cover them. Swirl the bearings around in the cleaner every few minutes to ensure that they are getting fully cleaned. If necessary, you can also use a rag or old toothbrush to scrub any stubborn grime or dirt.
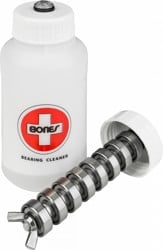
For even faster and more efficient results, we highly recommend using the Bones Bearing Cleaning Kit. This kit offers a mess-free way to vigorously shake your bearings in the cleaner, helping to remove dirt and grime faster without causing damage to the bearings. It's important to soak the bearings for several minutes to ensure that they are fully cleaned. Once the bearings are clean, remove them from the cleaner and wipe them off with a clean rag
5. Dry & Re-lubricate

After soaking the bearings in a solvent or cleaner, it's time to dry them off as quickly as possible. To do this, you can tap them face down on a dry rag or paper towel while spinning them. Another option is to use a hair dryer or compressed air if you have access to them.
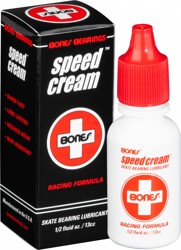
Once the bearings are dry, it's important to re-lubricate them to prevent damaging friction. For this step, we recommend using a skate-specific bearing lubricant such as Bones Speed Cream or Bronson Speed Co. High-Speed Ceramic Oil. To lubricate the bearings, drip 1-2 drops of lube into each bearing and then spin it to ensure that the oil is evenly distributed. Repeat this process for all eight bearings.
It's essential to avoid using WD-40 as a lubricant because the effects will wear off quickly, leaving the bearings dry and vulnerable to rust. Instead, it's best to use a lubricant designed specifically for skateboard bearings to keep them running smoothly for longer.
6. Replace Shields & Mount Bearings

This is the final step to complete the bearing cleaning process. Once your bearings are clean, dry, and lubricated, you need to put the bearing shields back on before mounting the bearings back onto the wheels.
Placing the bearing shields back on is an easy task compared to removing them. Just set them in place and gently press from the center outwards until they snap back on. This ensures that the shields are in their original position and will protect the bearings from dust, dirt, and debris while you skate.
Once the shields are back on, you can mount the bearings back onto the wheels. Before doing so, make sure to replace the bearing spacers between the bearings if your bearings have them. These spacers sit between the two bearings when in the wheel and help to distribute the weight evenly. If you have speed washers, place them back onto your truck axle before tightening your axle nuts. This will help to keep the bearings spinning smoothly and prevent any unnecessary wear and tear.
With the bearings back on your wheels, you're ready to roll with a new bearing feel!
Keep Learning
Still Have Questions?
If you still need more information, rest assured that we have the resources to help you out. Our customer service team is highly knowledgeable and can answer any questions you may have about skateboard equipment. You can easily reach out to them by phone or message.
Additionally, if you are in Portland, Eugene, or Bend, feel free to visit one of our local shops and speak to one of our friendly and helpful retail employees. They'll be more than happy to assist you and provide any information or guidance you need. Don't hesitate to reach out to us - we're here to help!
Customer Service:
Call us toll-free at 888.450.5060
Text us at: 888.450.5060
Monday - Friday, 8 a.m. - 6 p.m. Pacific Time
Saturday - Sunday, 9 a.m. - 5 p.m. Pacific Time
